

As we head into the Holiday Season, I’ve decided to tuck my crockpot away and do a series on EASY to make & Kid-Friendly Sweet Treats and Holiday Confections. I LOVED putting this 12 recipe series together and hope you enjoy it! If you don’t want to miss out of my Holiday baking recipes, be sure to sign up for my newsfeed or follow me on Facebook, Twitter or Pinterest!
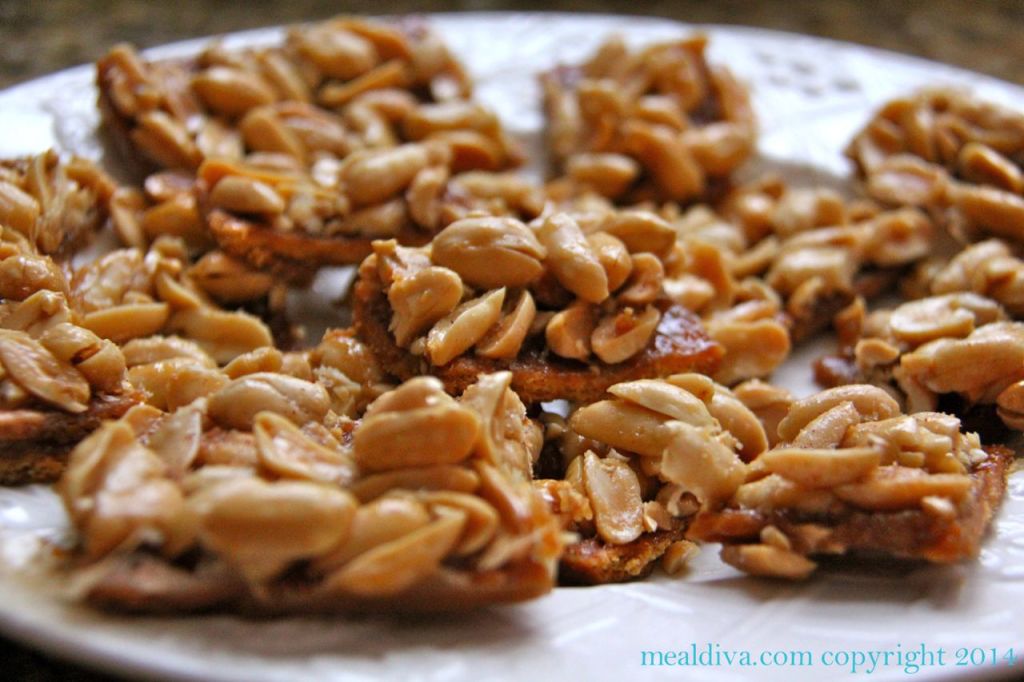
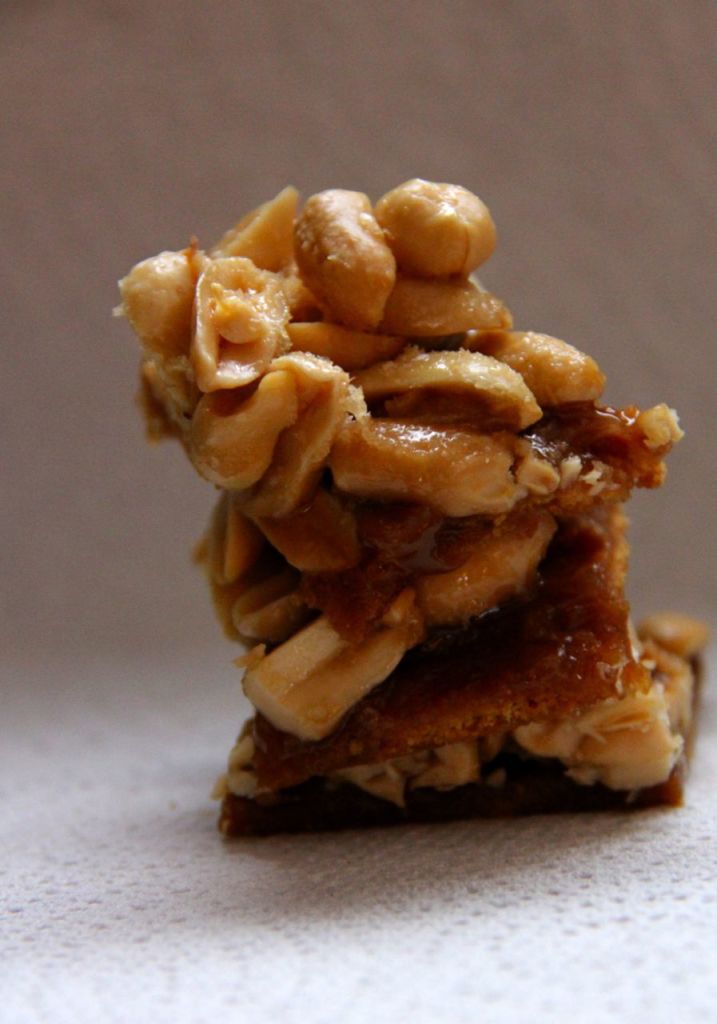
I’m kicking this series off with some Peanut Florentine Bars. My mom makes Almond Florentines every year for Christmas but since we have a tree nut allergy in the Diva house, we use peanuts instead.
Mmmmm… these are so yummy!
Before I share this tasty recipe with you, I want to give you some handy baking tips.
- First, always read baking recipes from start to finish before diving in. This way, there are no surprises.
- Second, before you start baking, gather all of the necessary ingredients and equipment. Prepare and measure the ingredients before hand.
- Third, to determine doneness, always rely on the recipe’s sensory descriptor such as “bake until golden brown.” Consider any time given in a recipe merely a guide for when to start checking for doneness.
Onto these easy peasy lemon squeezy bars!
Peanut Florentine Bars
Ingredients:
- 1 package Graham crackers
- 8 ounces butter (1 cup)
- 1 cup packed, light brown sugar
- 1 cup roasted peanuts
- Butter for preparing foil
Directions:
- Preheat the oven to 350 degrees and line a baking sheet (with sides) with some aluminum foil.
- Butter the foil well and then lay out enough of the crackers in a single layer to completely cover the bottom of the baking sheet. Set aside.
- Place the butter into a saucepan over medium heat and melt.
- Whisk in the brown sugar, without boiling, until it’s completely combined and the sugar is dissolved.
- Pour this mixture evenly over top of the crackers then sprinkle the peanuts evenly over top.
- Bake for 7 minutes then turn the oven off and crack the oven door open and allow to sit for 25 minutes. Cut into squares while still warm and store in an airtight container.
- In addition, feel free to drop some chopped milk chocolate over top of the warm mixture. The chocolate melts a little and makes these bars even more delicious!
5 thoughts on “Peanut Florentine Bars”
Comments are closed.